Rebuilding a 1968 Dodge Coronet 500
I bought my first car my senior year in high school. It was an AWESOME car that was the source (or contributing factor) to many wonderful memories — cruising Main Street, dates, dances, and just having fun. In 2022 I decided to recreate that car and — along the way — acquire skills I didn’t have: welding, metal fabrication, body work, painting, etc. These pages document the work I’ve done – and am currently doing – and the lessons I’ve learned along the way.
Back in the day
Here are some pictures of my first car.

6
Fast Forward to 2022 – New Beginnings
Here’s what I bought on eBay from a guy in College Station, TX. I purposely purchased a car with lots of special needs which would allow/require me to learn some things about auto restoration

Let’s start at the end (the tail end)
I thought I’d eat this elephant of a project by starting in the rear, which has most of the problem. I figured I’d start here because I really can’t make things any worse than they already are!

With the frame rail replaced, I turned my attention to the rusted out parts of the quarterpanels.

By now I’m getting more comfortable with my welding (knowing how easy it is to grind away bad welds!)

With this optional work out of the way, it was time to quit procrastinating and get to the biggest bodywork challenge: the rear window. The rear window was SO bad that there was no way to repair it; I could only replace it. Unlike trunk pans and floor pans and fenders, no one manufactures replacement rear windows. So, I reached out to my friends at Desert Valley Auto Parts in Arizona, who cut a rear window out of a donor car and shipped it up to New Hampshire.

Another challenge was the tail panel. It was in pretty rough shape:


There are two types of work with the tail panel: the trim (see the top picture) and the metal (the bottom picture); both needed significant attention.

Okay! We’re getting there with the back half. We replaced the rotted frame section. We replaced the rear window with a donor. We mini-tubbed the wheel wells. And we repaired the tail panel. Now let’s complete the back half.

In order to make sure the bare metal didn’t start rusting, I decided to finish the rear by using some bondo where necessary and to spray epoxy primer on any exposed surfaces.

Although I work in the garage most of the time, when it gets bitter cold — or I want something else to do — I can work in the basement of my house. One of the more significant basement projects was recovering my front bucket seats and the rear seat and back.

Another basement project was the center console. This car is an automatic with the shifter on the floor encased in a very cool console that has a lockable storage area and floor lights. Unfortunately, the plastic part of the console was so brittle that it disintegrated when I tried to work on it. And the metal parts weren’t much better.

Another basement project was the heater box. There was no heater box when I bought the car, so my buddy Randy found one for me at Chryslers in Carlisle (PA). It looked pretty good. Until …

One of the optional things I did was inspired by Chris Birdsong’s video (https://www.youtube.com/watch?v=1qOeqMfMKV0) on subframe connectors. While I don’t envision my Coronet creating the torque that would require stiffening the frame, I thought it would be fun and — with the floor pan out — relatively easy to do.

And still another basement project was refinishing the glovebox lid and the lower dash pad. I had an extra set of each so I could select the best after my refinishing.

Okay, let’s get back to the car and do some more bodywork. I had purchased floor pans for the trunk and the front of the car, but the back seat floor pans needed quite a bit of work. As you recall from the original photos, some rodents had made a home in the back seat and their nesting material — over decades — had rusted areas of the back seat floor.

Meanwhile, back in the basement, I worked on the instrument panel and switch panel.

More Bodywork
Back to bodywork. I’ll cover siz main areas I worked on: 1) driver side rear quarter panel (front), 2) fenders, 3) passenger side rocker panel, 4) engine compartment, 5) the cowl/windshield, and 6) the trunk lid.
Driver Side Rear Quarter Panel (the front of the quarter panel)
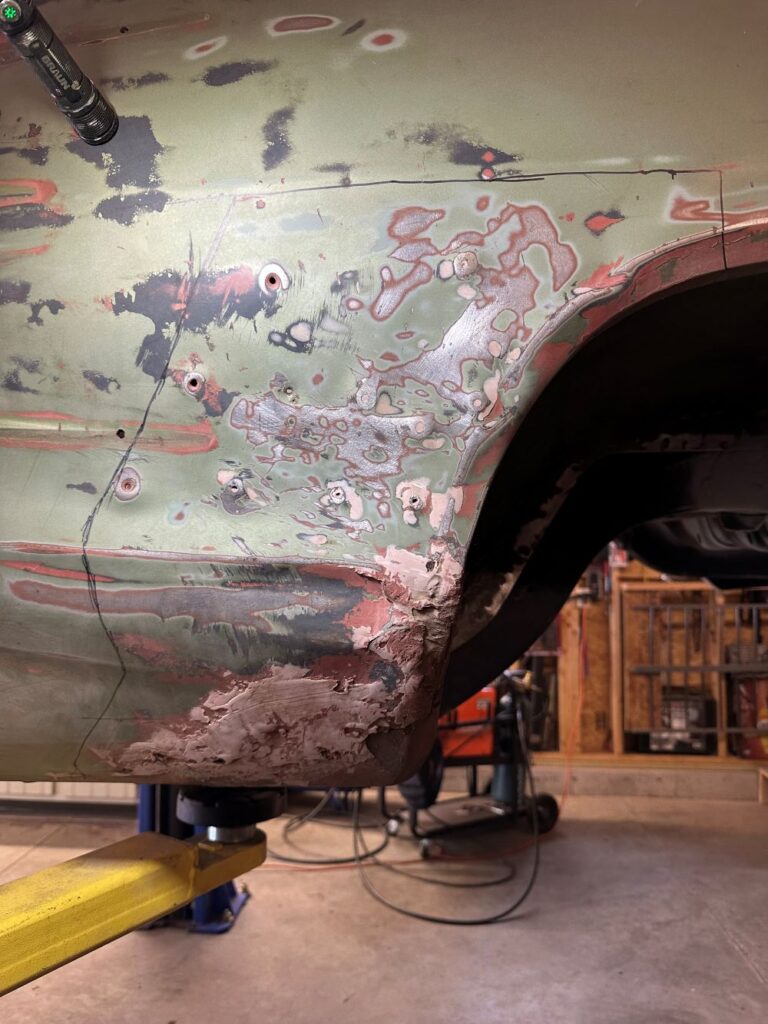
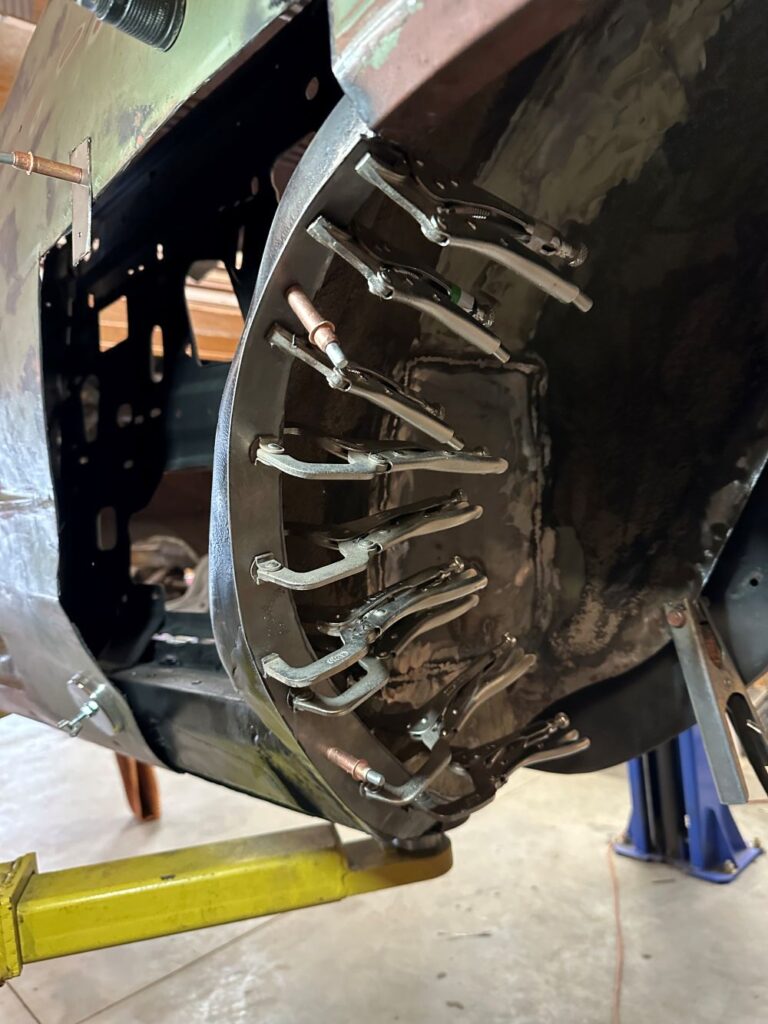
Behind the driver’s door is the front of the rear quarter panel, which was pretty beat up and rusted. So it needs to be replaced.
Fenders
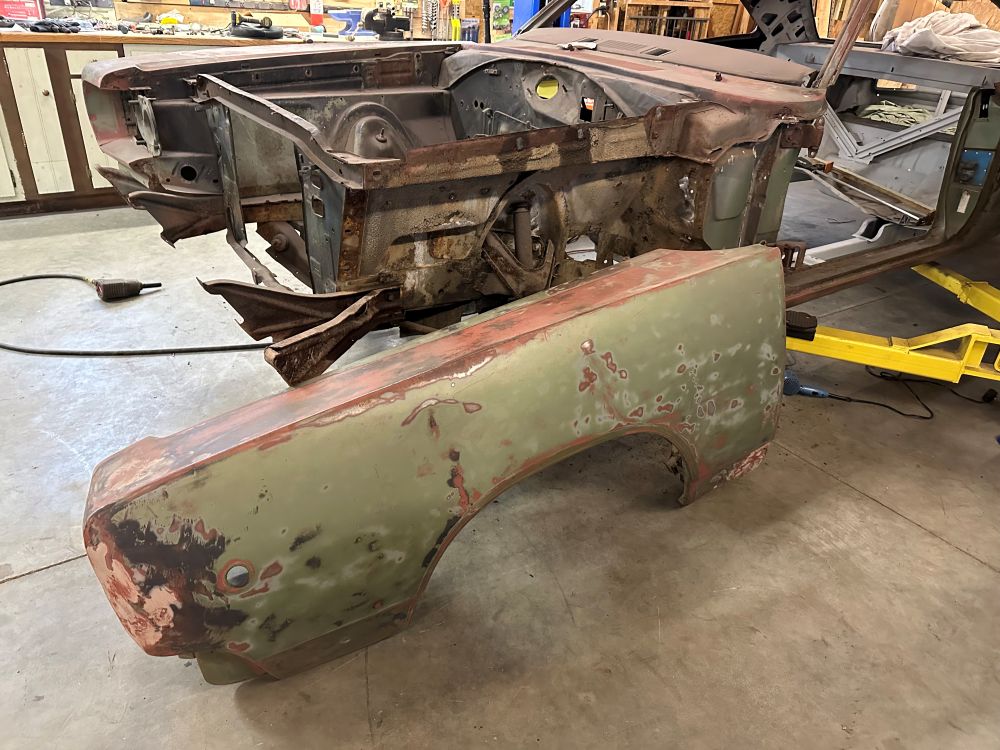
The fenders in front on both the driver’s side and the passenger’s side required a lot of work to strip and then repair the damaged pieces.
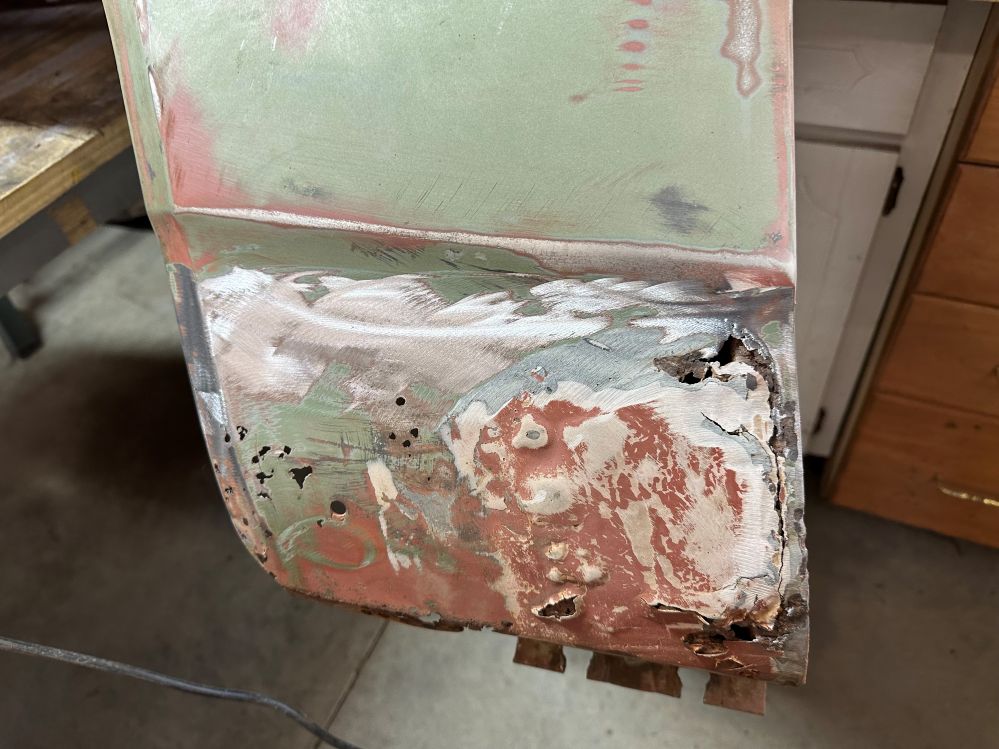
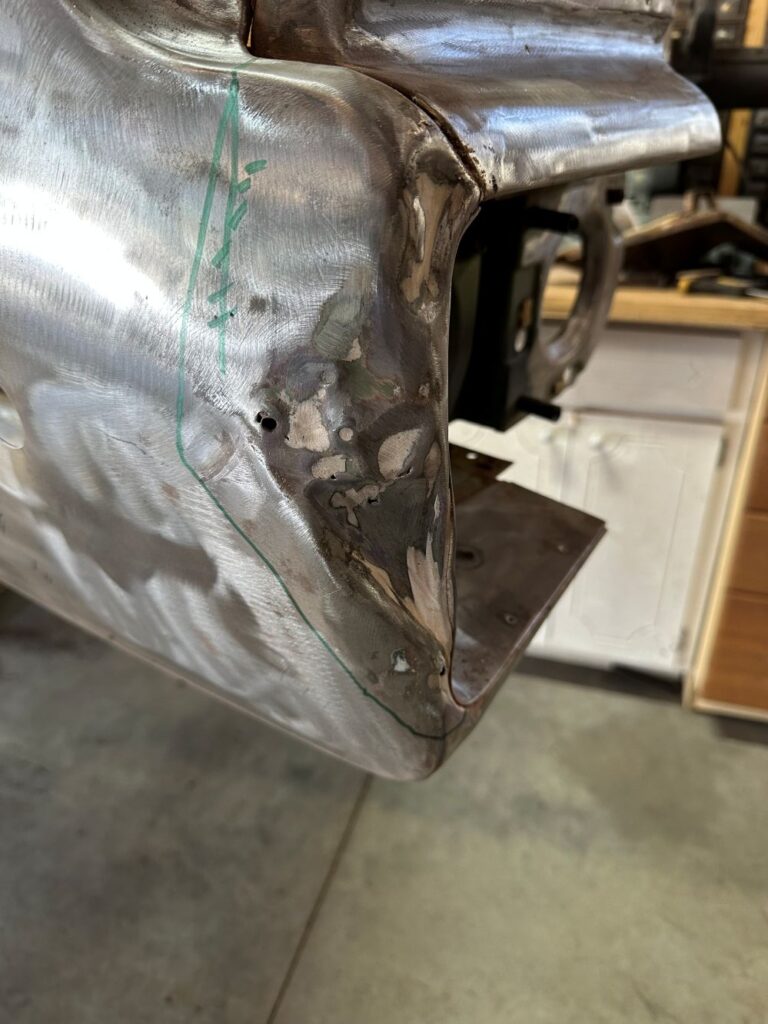
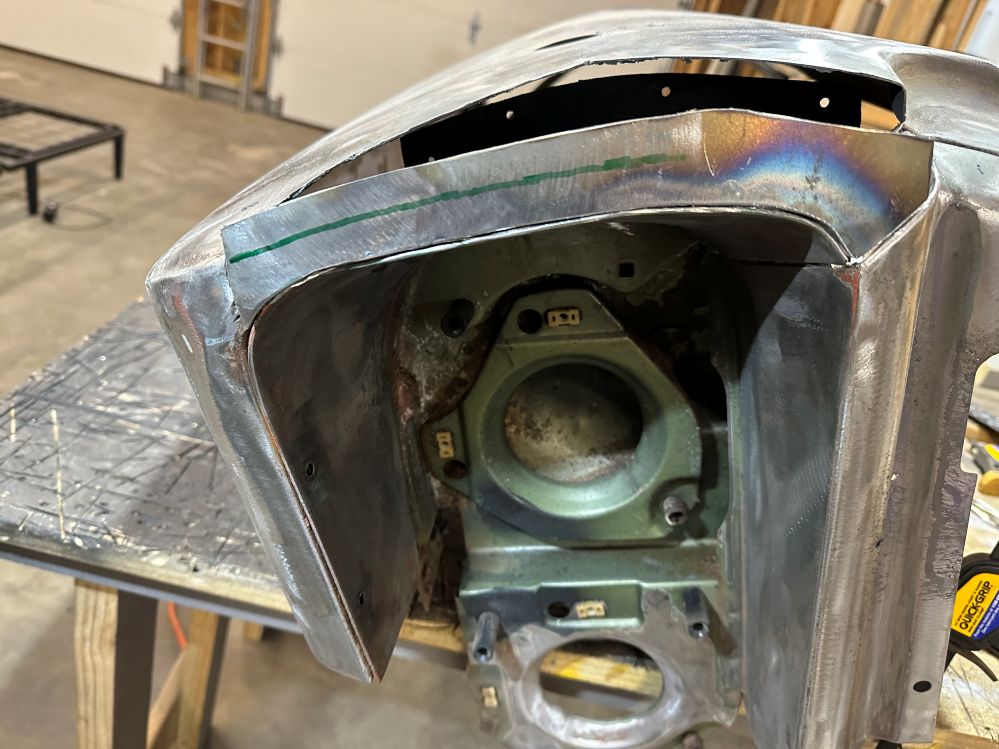
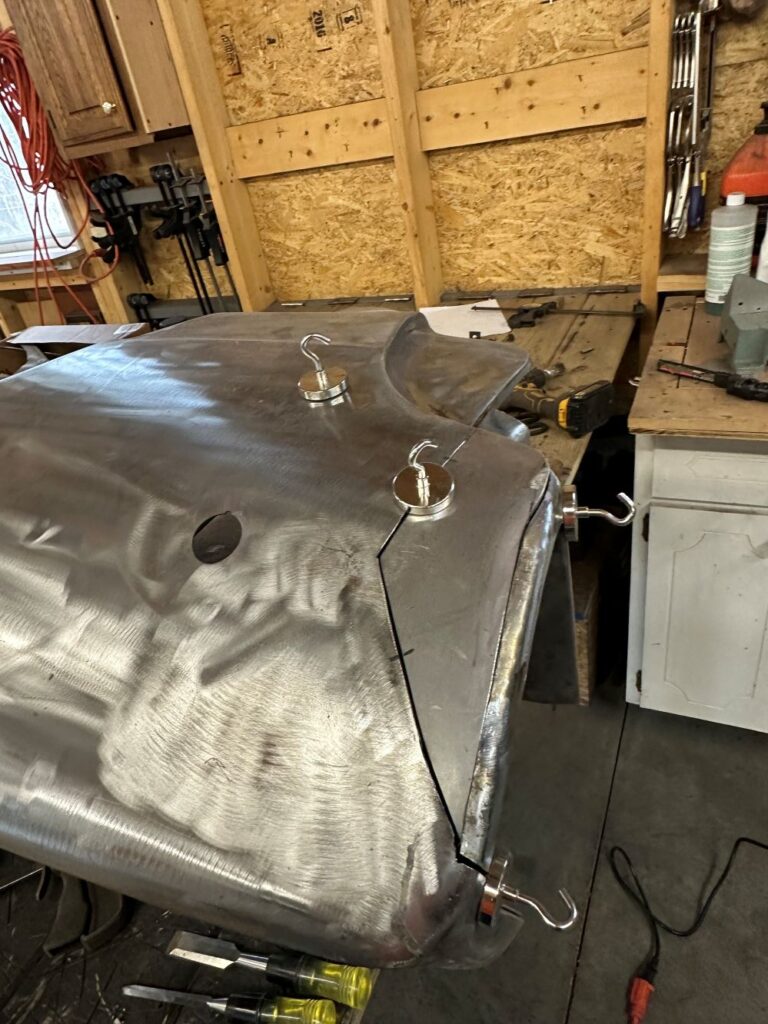
Passenger Side Rocker Panel
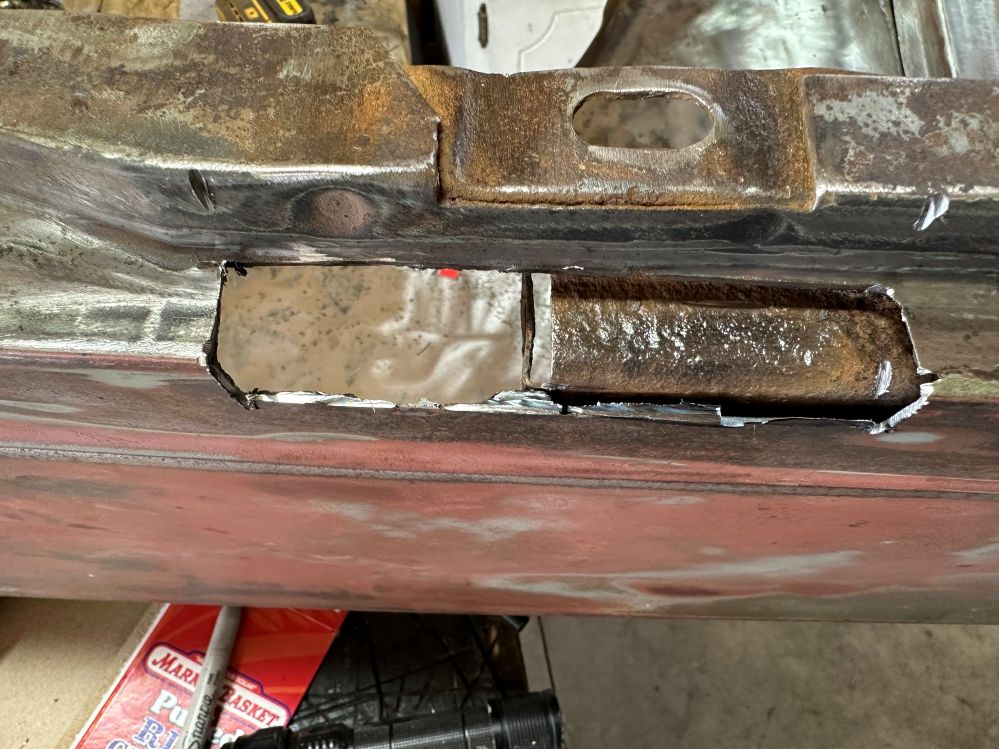
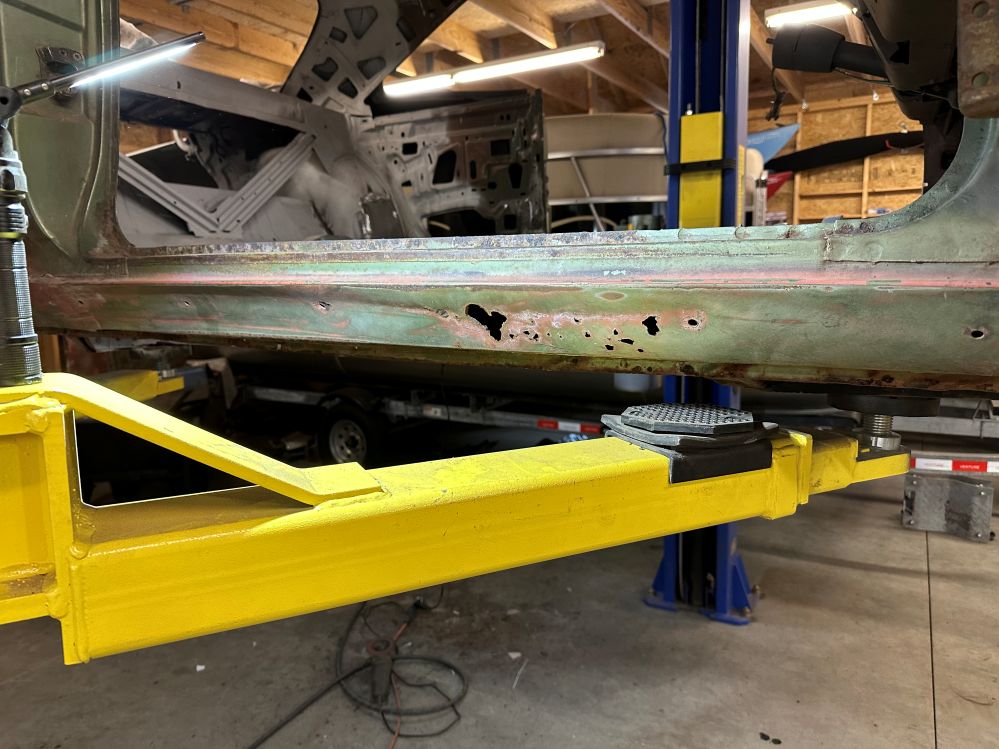
The rocker panel on the passenger side was only pitted with rust, it looks like a previous owner had brushed up against a curb or something as it was caved in. The easiest thing to do was cut it out.
Engine Compartment
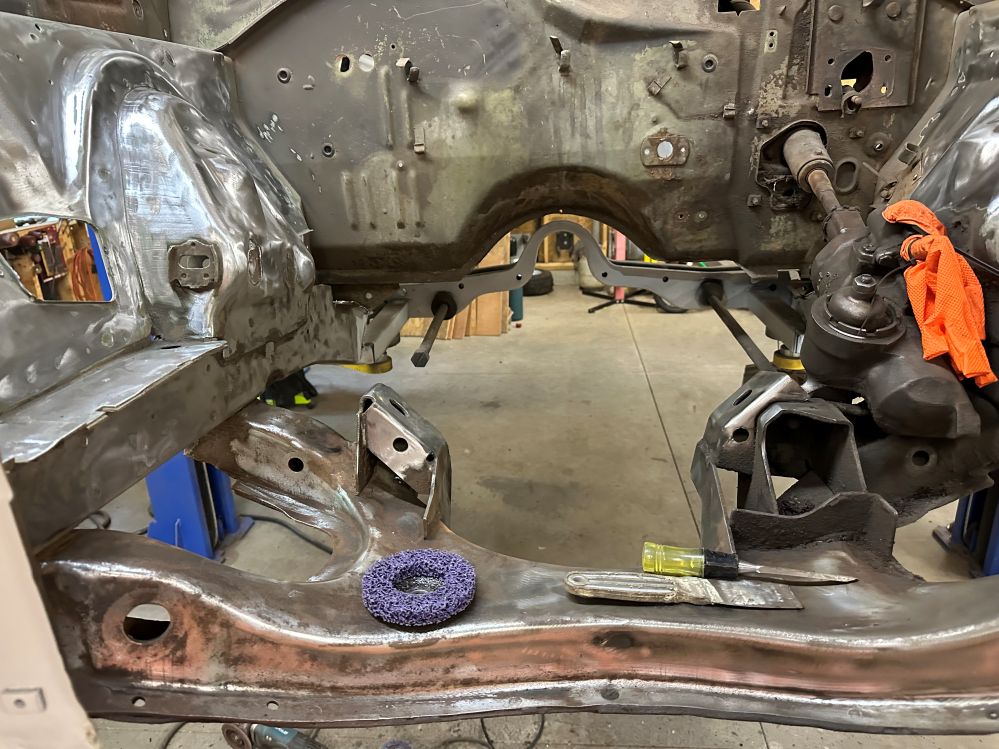
The engine compartment was a mess of paint, oil, and undercoating. There were a few additional issues that I dealt with. After removing the suspension (another posting later on), I went to work.
Cowl/windshield
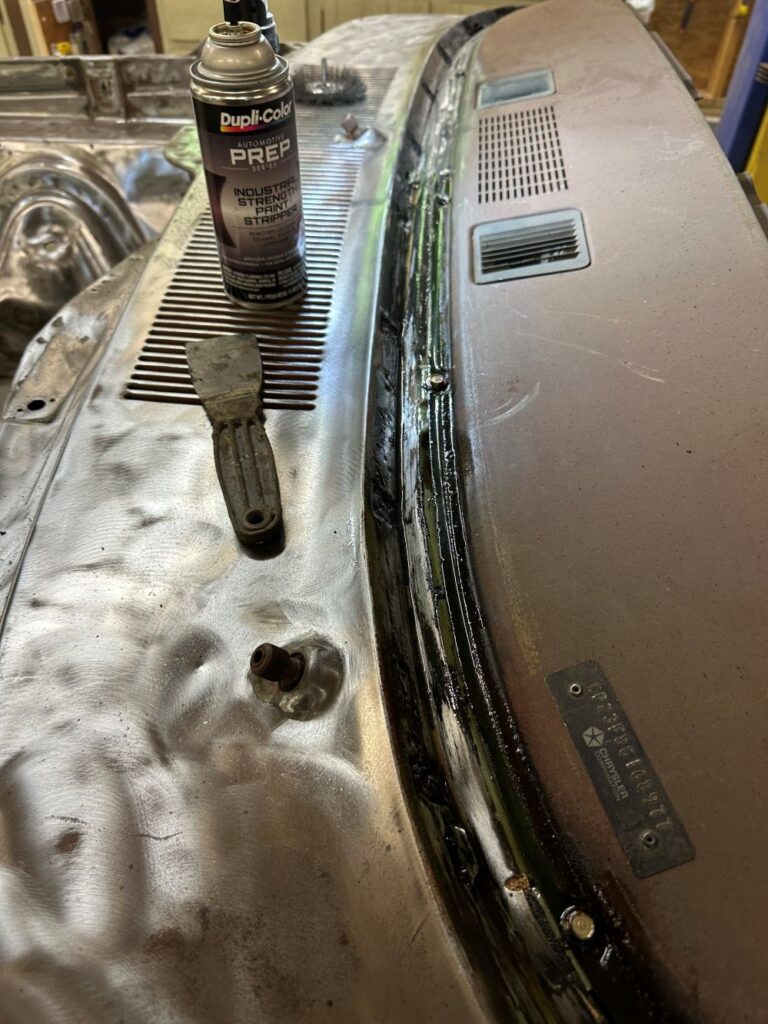
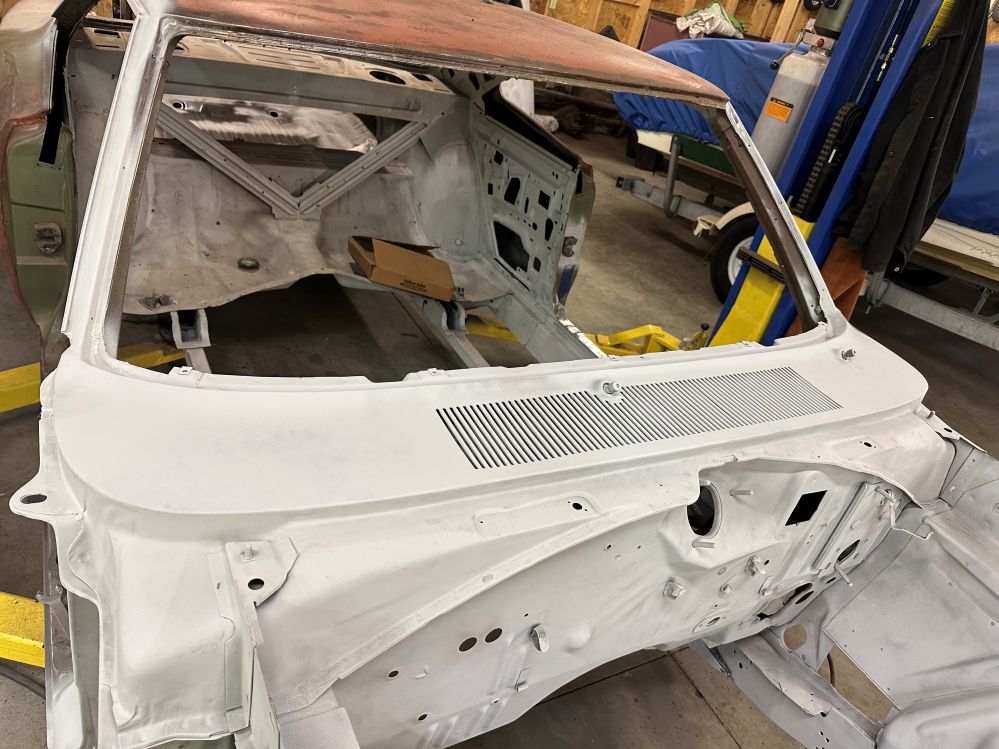
Okay. Engine compartment cleaned, rust holes fixed, and bent support fabricated and replaced. Time to move to the cowl. I used the compressor to blow about 20 pounds of history out of drain holes to either side of the cowl. Just when I thought there was no more, a change of the direction of the nozzle loosened another decade’s worth of crap.
Trunk Lid/Deck
When I asked my forum buddies their thoughts on my trunk lid (also called a trunk deck, but I’ll call it the lid), they overwhelmingly suggested that I try to find a replacement that wasn’t in such back shape.
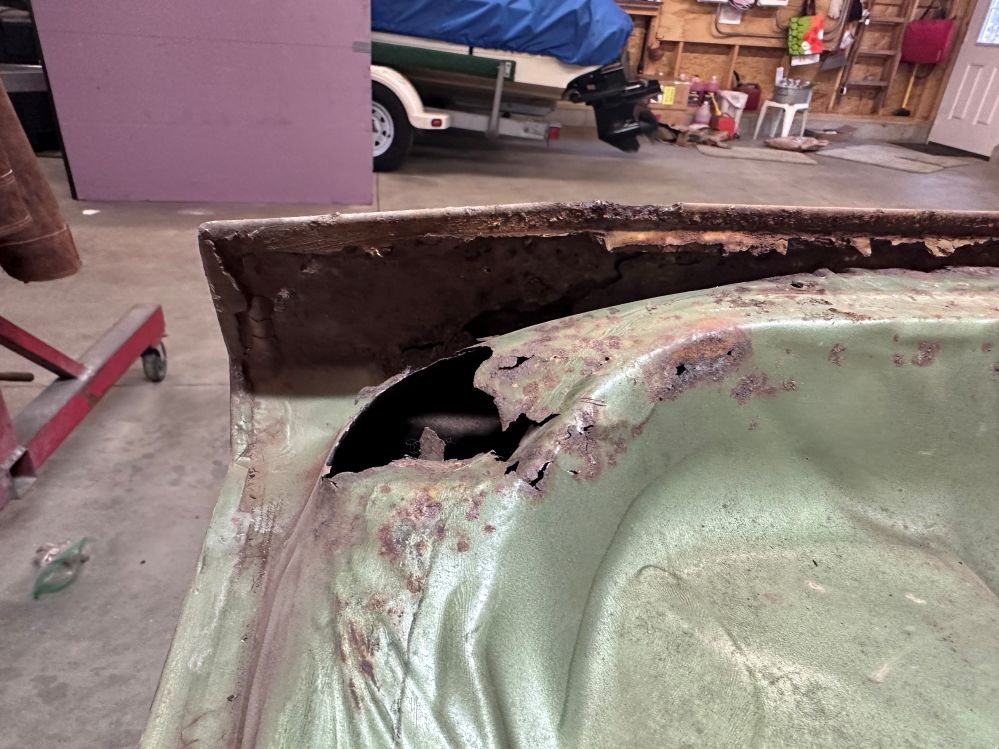
Still, this is the very reason that I bought a rust bucket: to perform magic 🙂 What gave me hope was that the rest of the lid was pretty rust free, especially the seams.:
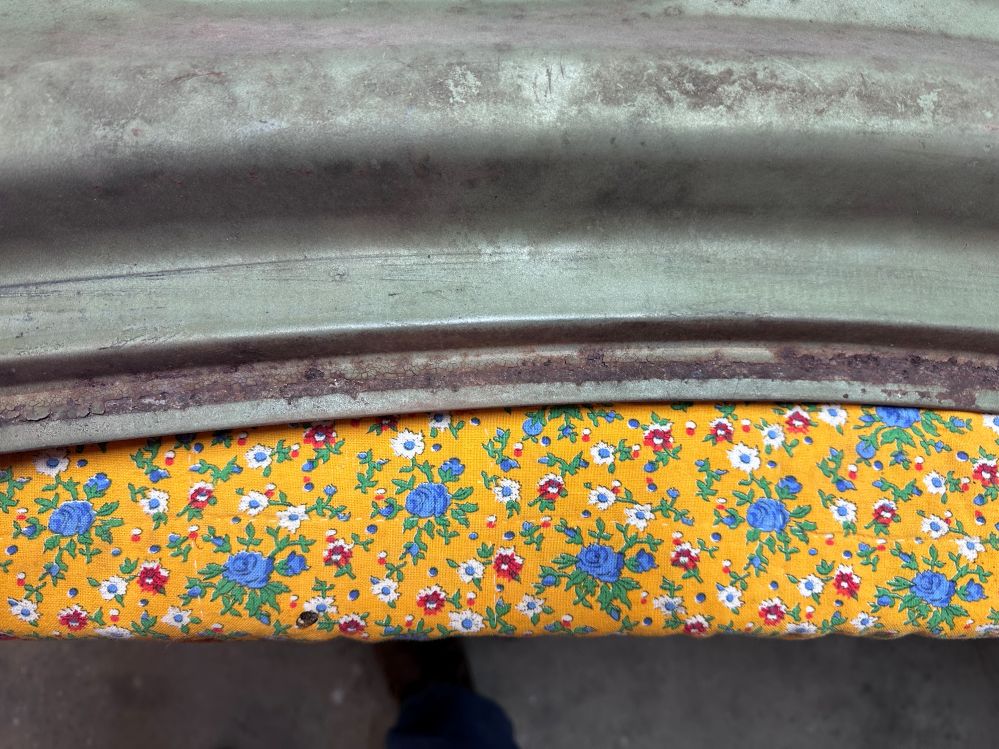
I started by cutting out the rear panel on the lid and fabricating a new one:
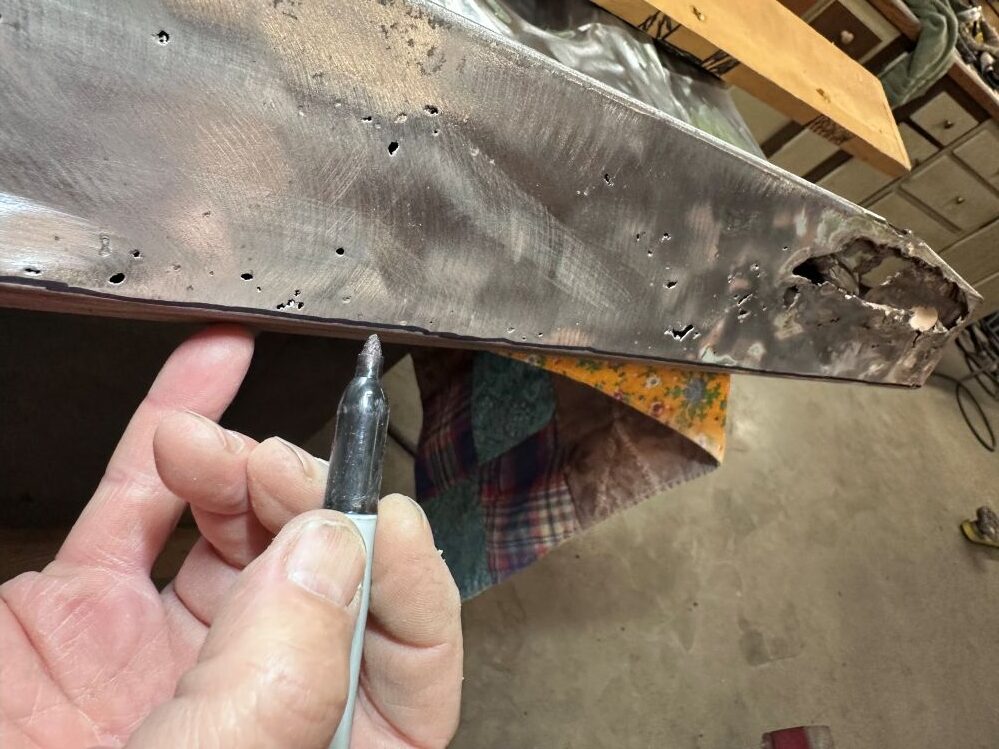
While I had the end off, I tried to clean out as much of the rust and junk that had accumulated in between the top and bottom panels of the trunk. I used long wire brushes and lots of compressed air to clean it out. Then…
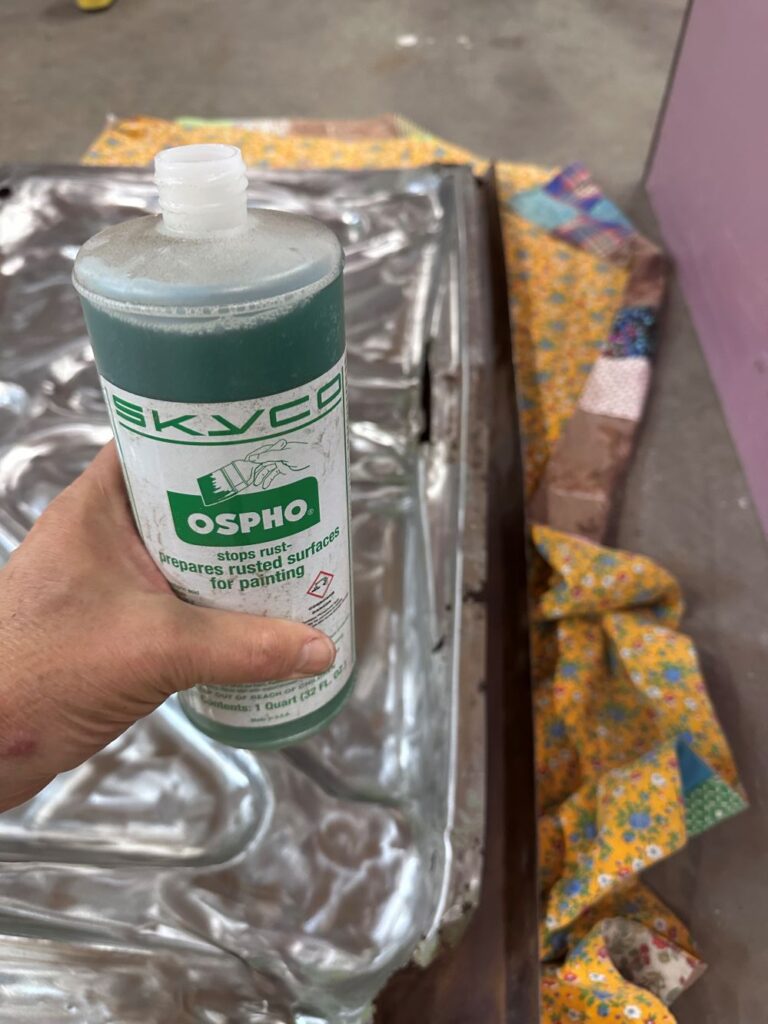
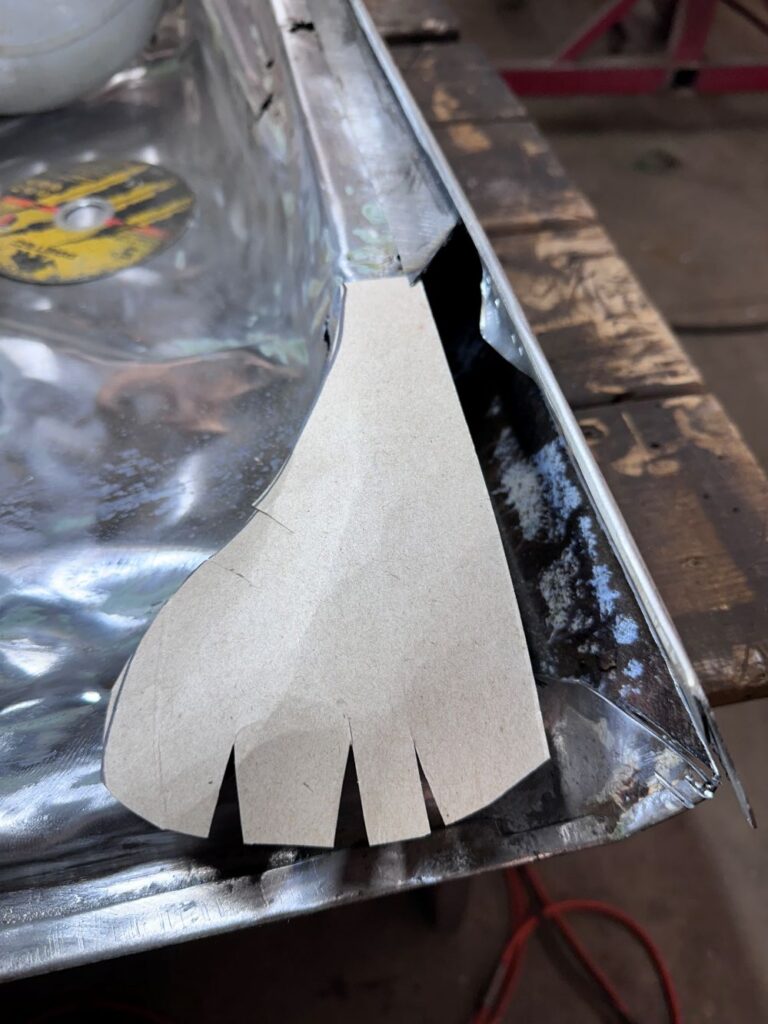
Now, the tough part — the corners. The corners are challenging because there’s just so much twisting and curving … and my fabrication skills just aren’t at that level. However, what I lack in skill, I make up for with my enthusiasm (and grinding skills).
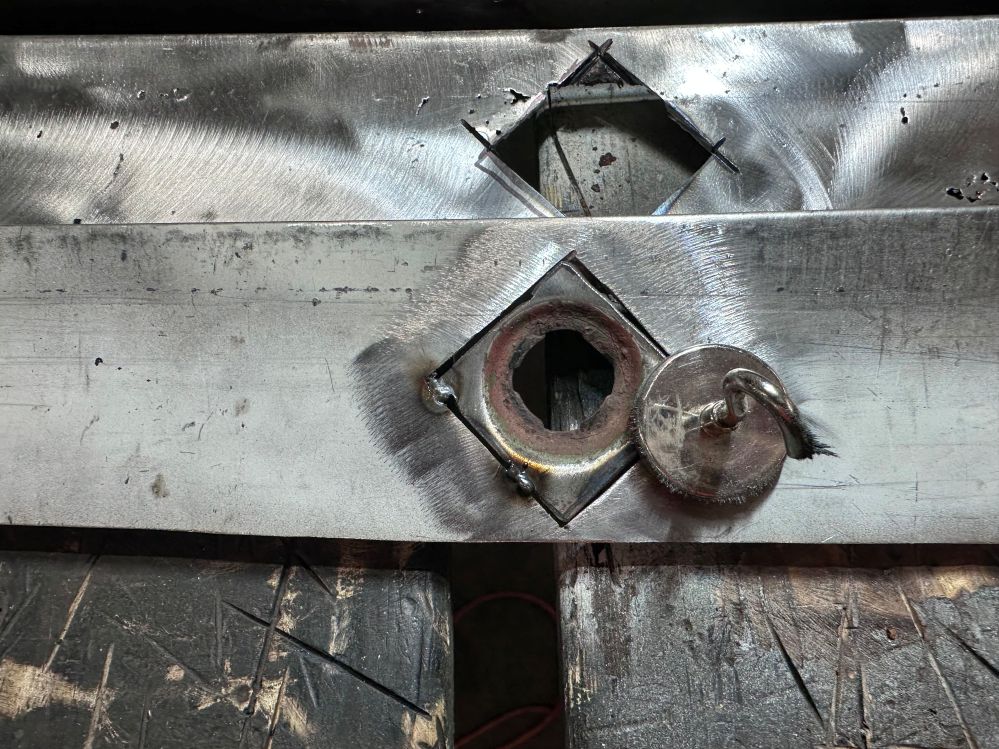
I then focused on the latch area.

Okay, let’s bring this to a close. I welded the end piece on, buffed everything out, and then gave it a coat of epoxy primer:

Rear Leaf Spring Relocation and Axle Shortening
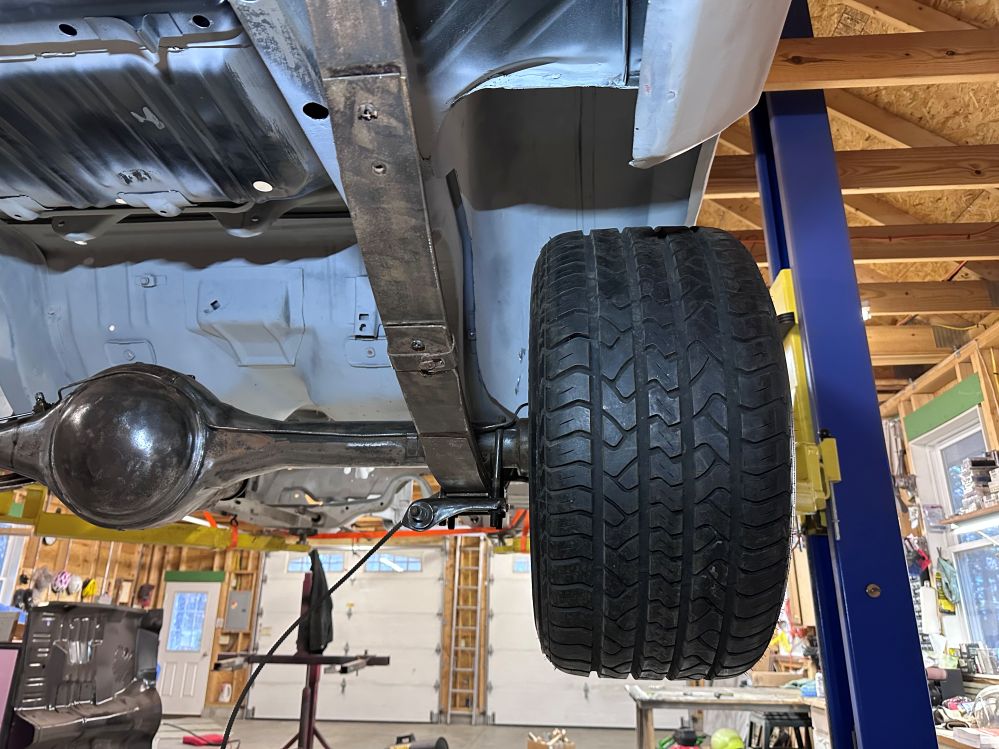
I had located slotted wheels for the back end that were similar to those I had on my high school car. Unfortunately, these 10″ wide wheels had only 3 1/2″ backspacing, which caused them to stick out of the wheel wells by … well, too much. Therefore, I decided to 1) relocate the rear leaf springs inward by four inches (using a relocation kit), and then 2) shorten the axle housing by the same amount (and purchase shortened axles to stuff into the shortened axle housing).
Rear Leaf Spring Relocation
I purchased a USCT relocation kit through AMD and found the instructions lacking (for a newbie like me). And usually I rely on YouTube videos to help me figure things out, but they were lacking as well. Therefore, I created my own:
My YouTube video on how to relocate rear leaf springs on 1968 Mopar B-body
Shortening the Axle Housing
Now that the leaf springs are moved inward by four inches, I can shorten the axle housing by four inches on each side.